Bearings fail quietly, and that is what makes them dangerous. A dying wheel bearing gives you weeks of small warnings before it finally seizes.
Most riders miss every one of those warnings. By then, the hub gets destroyed along with the bearing.
This guide covers what goes inside a bearing kit and how to catch wear early. It also covers when a motorcycle bearing kit replacement moves from routine maintenance to urgent.
What Is a Bearing Kit and What Goes into a Motorcycle Bearing Kit Replacement?
A bearing kit bundles every bearing and seal needed to rebuild one assembly. Buying the kit costs barely more than buying the bearings alone.
Wheel Bearings
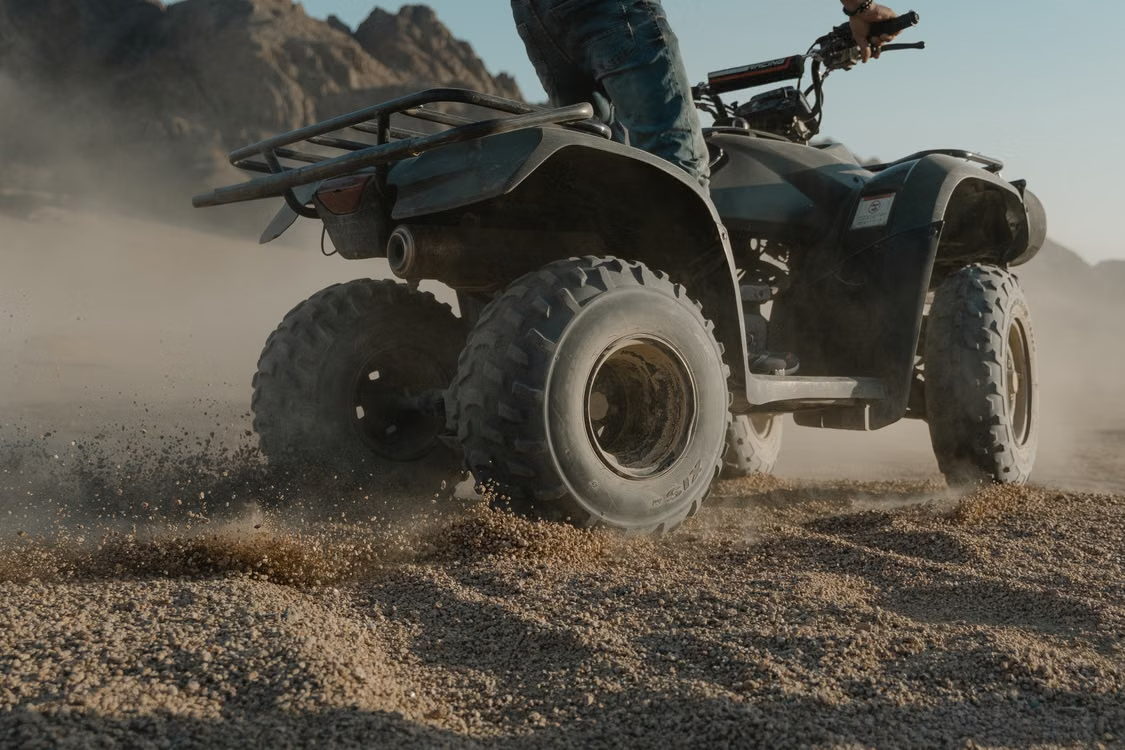
Most ATVs run two bearings per hub with a spacer between them. They carry the full weight of the machine and absorb every landing you make.
Steering Stem / Head Bearings
These sit above and below the steering head. Water works past the dust seal over time and turns the grease into a gritty paste.
Swingarm & Suspension Bearings
Needle bearings live in the swingarm pivot and the shock linkage. They travel in a short arc, so grease never redistributes across the rollers.
Seals & Spacers
A complete kit includes fresh seals and often the inner spacer. A scored spacer will destroy a brand-new seal within weeks.
7 Warning Signs Your Bearings Are Going Bad
Catch these early, and you replace a bearing. Catch them late, and you replace a hub.
Grinding or Growling Noise
Listen at low speed with the engine off, coasting downhill. A dry bearing produces a low growl that rises and falls with wheel speed.
Play or Wobble in the Wheel
Any detectable movement at the hub means the bearing has lost its preload. This is the clearest sign of the group.
Vibration at Speed
A worn bearing lets the wheel run slightly off axis. You feel it through the bars and footpegs, usually above 25 miles per hour.
Loose or Notchy Steering
Steering that clicks into a center detent points to worn head bearings. The races have developed indentations at the straight-ahead position.
Uneven Tire Wear
Bearings that allow wheel tilt scrub the tire unevenly across its width. Cupping on one shoulder is a common pattern.
Two more signs worth checking after a ride:
- A hub that feels hot to the touch while the others stay cool
- A wheel that stops turning quickly when you spin it by hand
What Causes Bearings to Wear Out Faster?
Water & Mud Exposure
Creek crossings and Oklahoma red clay push contaminants straight at the seal lip. Pressure washing does more damage still, since a close-range spray forces water past seals designed for splash.
Riding Style & Terrain
Jumps and rocky terrain load bearings far beyond their rating. Sand riding at Little Sahara adds constant fine abrasive into the mix.
Skipped Maintenance Intervals
Seals dry out and crack with age alone. A seal that looks fine at a glance may already be passing water on every ride.
Sealed vs. Unsealed Bearings: What’s the Difference?
Sealed bearings come packed with grease and closed with rubber or metal shields. Unsealed bearings are open and rely on external grease.
Motorcycle & ATV Parts Blog | Cycle Parts Joint
OEM vs. Aftermarket ATV Parts: Which Is Better for Your Ride?
| Feature | Sealed | Unsealed |
| Contamination resistance | High | Low |
| Servicing | Replace as a unit | Can be regreased |
| Best use | ATVs and dirt bikes | Enclosed or light-duty spots |
| Life in mud | Much longer | Very short |
Nearly every modern off-road machine uses sealed bearings at the wheels. Quality kits pair them with triple lip seals and grease rated well past normal operating temperature.
How to Choose the Right Bearing Kit for Your Model
Match by Year, Make & Model
Bearing sizes change mid-production more often than riders expect. A 2004 TRX450R hub differs from a 2006, so verify against your exact year.
Front and rear kits usually carry different part numbers. Check which positions the listing covers before adding it to your cart.
OEM Spec vs. Upgraded Bearing Kits
OEM spec kits match factory dimensions and factory bearing grade. That is the right choice for trail and utility use.
Upgraded kits use higher precision bearings, often rated to ABEC 3, along with heavier seals. These earn their cost on machines that see mud and hard landings.
How to Check Your Bearings for Wear (DIY Test)
Both tests take under five minutes per wheel. Do them with the machine on a stand.
The Wheel Wobble Test
Lift the wheel clear of the ground. Grab it at twelve and six o’clock, then rock it firmly toward you and away.
Any click or movement means the bearing is finished. Repeat at three and nine o’clock to separate bearing play from tie rod play.
The Steering Play Test
Lift the front end and turn the bars slowly from lock to lock. Smooth resistance is good.
Notches, catches, or a grinding feel mean the head bearings need attention. Then push and pull on the forks to check for fore and aft movement.
Step by Step: What to Expect During a Bearing Kit Replacement
The job is straightforward, though it demands the right tools. Expect about an hour per wheel on your first attempt.
Tools Typically Needed
- Bearing driver set or properly sized sockets
- Blind bearing puller or a long drift punch
- Torque wrench for the axle nut
- Press or a heavy bench vise
- Grease and thread locker
Freezing the new bearings overnight helps them drop into a warmed hub with far less force.
DIY vs. Professional Install
Wheel bearings are a reasonable home job if you own a press. Swingarm and steering head bearings are considerably harder to remove cleanly.
Shops charge for the labor either way. The parts cost stays the same whichever route you take.
How Long Do Bearing Kits Last?
Trail and utility riders often see three to five years from a quality set. Hard riders in mud and water may replace them annually.
Mileage matters less than exposure here. Two seasons of creek crossings will outpace five seasons of dry trail riding.
Frequently Asked Questions
How do I know if my wheel bearings are bad?
Lift the wheel and rock it at twelve and six o’clock. Any play or clicking confirms a worn bearing. Listen for a growl that changes with wheel speed, and feel each hub after a ride for unusual heat.
How much does it cost to replace ATV wheel bearings?
A quality bearing and seal kit typically runs $25 to $60 per wheel. Shop labor usually adds $75 to $150 per wheel depending on the machine. Doing all four yourself often lands under $200 in parts.
Can I replace just one bearing or do I need the whole kit?
Replace the pair in that hub together, along with the seals. The second bearing has the same hours and the same contamination exposure. Splitting the job means pulling the same wheel apart again within months.
How often should motorcycle bearings be replaced?
Inspect them every season and replace when play appears. Most riders get three to five years from wheel bearings. Head and swingarm bearings often last longer, since they see less rotation and better sealing.
Is it safe to ride with worn wheel bearings?
No. A seized bearing can lock a wheel at speed or weld itself to the axle. Worn bearings also damage the hub bore, which turns a modest parts bill into a much larger one.
What tools do I need to replace ATV bearings at home?
You need a bearing driver set or matched sockets, a blind bearing puller, and a torque wrench. A shop press makes the job far cleaner. A heavy bench vise works as a substitute on most wheel hubs.
Shop Bearing Kits and Motorcycle Engine Joint Parts at Cycle Parts Joint
We ship from Sapulpa and stock parts across Honda TRX and ATC platforms, along with Yamaha and Suzuki machines. Our catalog runs past 11,000 items, much of it the small hardware other shops dropped years ago.
Run the wobble test this weekend before your next trip out to the Disney trails. If you find play, order the kit while the hub is still good.
A motorcycle bearing kit replacement costs very little next to the spindle it protects.

